
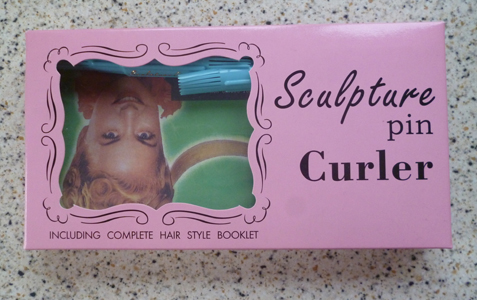
I showed you pincurling beginners how to start working on your pincurls only a few weeks ago, but I’m very excited to be able to show you another way to achieve perfect pincurls now without the weeks and months of practise. How? By using a pincurling tool, specifically the Sculpture Pin Curler Tool.
Vintagehair.com recently sent me this set to try out and let you know what I think. I’ve had a few practises with it now, both on wetsets and using it to re-pin dry already formed pincurls on their second, third, fourth days. And I’ve got to say…I love it.
For you ladies just starting out with vintage hair this really will save you a lot of time and effort.
To use the tool you section your hair as usual, setting lotion already applied, comb through the section of hair from scalp to tip using the comb feature of the tool, then wrap the end of your hair very carefully around the big or small end of the tool, depending on how tight you want your pincurl, and roll up towards your scalp. When you’ve rolled it up as far as you can go, you carefully slip the curl off the tool and pin it, either as an elevated pincurl or a flat pincurl. It really is that easy.

The pros are that you get the same sized pincurls all the way around your head, giving you a uniform set of curls when you brush out, compared to the higher risk of differing sized pincurls created by hand. You also skip that super frustrating process when pincurling by hand of repeatedly trying to tuck your end into the pincurl and having it keep popping out, a common occurrence for us ladies with layered hair. I’m also really pleased with how much easier it makes pincurling the back of my head, which is something I really struggle with by hand and consequently tend to end up with kind of patchy pincurls back there (as well as aching arms.)
 Two wetsets using the Sculpture Pin Curler Tool
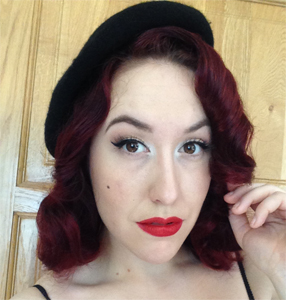
The only draw back I’ve found is for ladies with frizz-prone hair, I think. The curl it creates is so tight that if your hair is prone to tangling you can end up creating frizz as you brush it out, so it’s best to be really careful, as well as to keep the ends of your hair regularly trimmed so that split ends don’t add additional frizz. Likewise if you don’t like a tight pincurl that will create a shorter curled look after brushing out then you probably won’t want to use this for wetsets, not unless you want to brush out for a long time in order to drag the tightness of the curl lose. However, that doesn’t mean this tool isn’t for you. I’m prone to frizz and prefer my hair to sit on my shoulders once curled rather than hover under my chin, but I am still in love with this tool for one specific unforeseen use: re-setting my dry pincurls overnight to prolong my original wetset for several days.
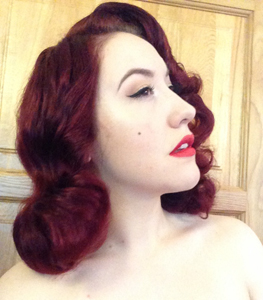
I cannot overstate how miraculous I find this tool for that. If I bother to re-pincurl my dry curls by hand overnight on the second or third day of a set I tend to find they come out progressively limper each morning. Using this tool, though, with the very tight pincurl it creates, gives me fresh pincurls each morning that look just as good as the first wetset, some days even better! The curls are beautifully formed, creating lovely waves when I brush them out, and with some hairspray they last all day long. I actually get excited about re-setting my pincurls overnight now because I know how good my hair is going to look in the morning. I’ve posted a few pictures to my Instagram of my hair on day 3 or 4 of one wetset after using this tool to preserve my pincurls and other women are always amazed that it isn’t a fresh wetset I’m showing them. Below are pictures from four separate occasions when I used my pincurler to reset my pincurls overnight to prolong a wetset.
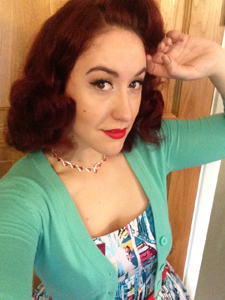 A third day re-set of old pincurls
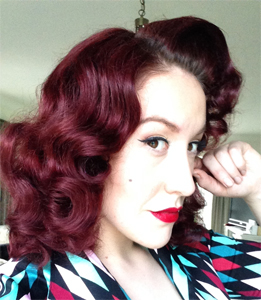 Second day re-set of old pincurls
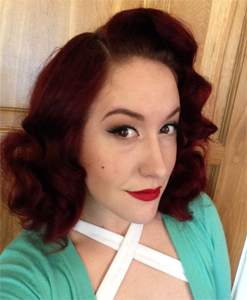 Third day re-set of an old set
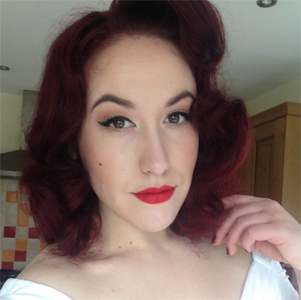 Second day re-set of an old set
So for me, this set is a no-brainer not only for beginners, but for all you pinup hair old-hats who know how to roll your curls like a pro but struggle with the classic pinup battle of getting great sets to last. I only wish I’d sated my curiosity months ago so I could have had perfect hair for longer.

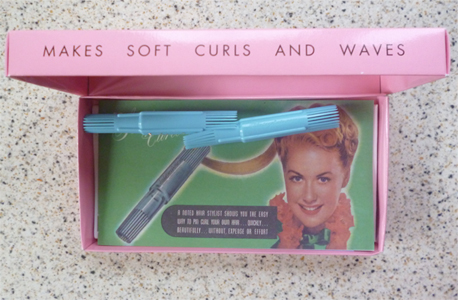
True beginners will love that this set comes with a vintage hairstyles booklet to give you plenty of ideas for retro hair to try. It’s also worth noting that this set comes with not one sculpture tool, but two! Which means that if you forget your pincurler in your hotel room next time you travel or your friend ‘borrows’ it and ‘forgets’ to give it back you’ll have a handy-dandy backup.
This Sculpture Pin Curler Box Set is available from Vintagehair.com for 39AUD, around £21, which is a worthwhile investment for a tool that will give you easy, perfect pincurls day after day, as well as a backup tool. If you’re strapped for cash at the moment Vintagehair.com also offer a great budget alternative of the Pin Curler Refill, which is a single pin curler tool and an instructions notecard for just 16.50AUD, roughly £9. This small tester set is so light that delivery from Australia to the UK only costs around £1.40, which is downright incredible.
This tool has become my new favourite pincurling aide. Do you already own the Scuplture Pin Curler? What do you think of it? If you don’t own it, are you thinking of buying it? Let’s have a little chat in the comments below.

I’ve had my ‘Sculpture’ tucked away for almost a year, I finally steeled myself to giving it a go a couple of weeks ago and – like you – wish I’d done it sooner. I’m yet to try any of the suggestions in the book, as I like the way that my hairs turning out the way that I do it, but maybe when I get a little bit more adventurous I’ll give one or two a go
LikeLike
It’s definitely a great product, and the hairstyles in the booklet are lovely. Like you I haven’t tried any of them yet–as long as my pincurls turn out nicely I just brush them out and leave my hair down. I normally just ruin a good set if I try to do something fancy with it, lol
LikeLiked by 1 person
Pingback: Get To Know Me | missamymay
I’ve had one of these for ages but just can’t get my layered hair to work with it. I guess I’ll persevere!
http://www.veraginvintage.wordpress.com
LikeLike
Pingback: How To: Setting Hair Extensions | missamymay