Sleep Easy, Heat Free [Curlettes]

Curlettes The Comfy Curls for Vintage curls review pictures Miss Amy May

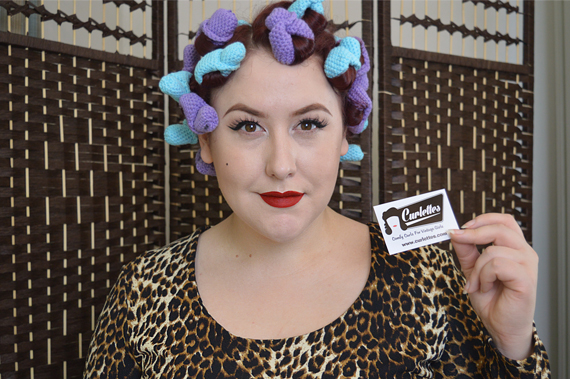
Hair set with medium Curlettes

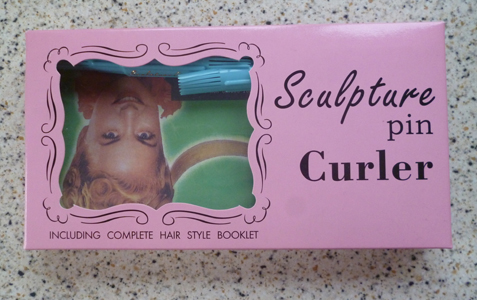
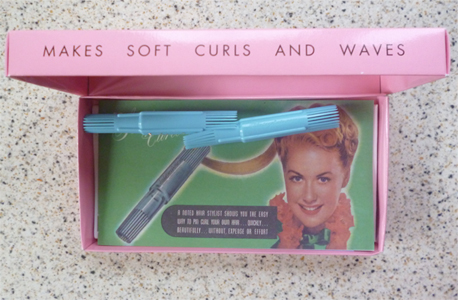
If there was one part of adopting the vintage style that I would say was the most difficult for me, it was the hair. Weirdly, that is also the part of the whole look that I tackled first, without even really intending to adopt the entire look altogether. I just wanted to have nice curls again, achieved in a heat-free way, after extreme heat styling had damaged my natural curls beyond repair.

I began with pincurls. Over time they became my favourite method of setting my hair even after I branched out into trying different types of rollers, whether bendy, Velcro, or foam, but in the beginning learning the technique and achieving a good brush out was a laborious, long-winded and often frustrating experience. I don’t regret it, because eventually I learned the pincurling technique well, but if a Pinup Godmother had come to me then, back at the beginning, and said ‘here, you can achieve a lovely vintage set with these handmade crocheted rollers which are, by the way, also comfortable to sleep in,’ I probably would have cried. Baby Pinup Amy didn’t know about Curlettes, but Present Day Pinup Amy does, and she’s a fan.

Continue reading

Suavecita Grooming Spray [Deadly is the Female]

There’s a lot about vintage hairstyling that is difficult and takes time to master. There’s almost no style at all that I feel confident even saying I’ve mastered, and that largely comes down to how frizzy and hard to manage my hair is. I have a lot of it but it’s very fine, prone to flyaways and frizziness no matter the weather–although humidity, is, of course, my worst enemy, because it makes a bad situation so much worse.

Often I’ll brush out my pincurl set, add in all my sectioning clips and hairspray everything into place, feeling content I did my best with my limited skills and even more limited patience…And then I’ll move to somewhere with different lighting, or go to take a picture against a lightly coloured wall, and realise there’s a ton of frizz in my set that I hadn’t noticed while styling it against the dark background that’s reflected in my getting-ready mirror. At that point, with all the hairspray in place, I just have to let the style stand as it is, because trying to alter it would likely end up in an even bigger state. Continue reading

How To: Setting Hair Extensions 

If you’ve read my past tutorial on using the Sculpture Pincurl Tool to wetset your hair then you’ll know it produces incredible waves as the curls are so tight, but for that reason on those of us with short or mid length hair our set can bounce up pretty high. It produces a beautiful set, but on me personally I like my hair to fall a little longer even when set, and for that reason a few months back I bought myself a couple sets of clip in hair extensions.

The easiest way to guide you through how to set your hair using clip in extensions is to show you, so I’ve filmed the process, including all the information on how to choose what hair pieces you want, and the brush out. Since the hot to video explaining and showing the process is so in depth and lengthy I’ve set the brush out process as a separate video, as I figured ladies who are confident with their vintage hair sets might not be as interested in viewing that part of the process. Continue reading

Pincurls Part 2: The Sculpture Pin Curler Tool

I showed you pincurling beginners how to start working on your pincurls only a few weeks ago, but I’m very excited to be able to show you another way to achieve perfect pincurls now without the weeks and months of practise. How? By using a pincurling tool, specifically the  Sculpture Pin Curler Tool.

pincurlerset1

pincurlerset2 Continue reading

A Beginner’s Guide To: Pincurls

I am no pincurls expert. I want to state that right now. But I have been attempting to master pincurls for over a year now, as well as other wetset and hotset methods of retro styling one’s hair, so I’ve learned a few things. I’ll be including videos at the bottom of this post showing you how true pincurling experts roll their tresses, the same videos that I watched to figure out how to do it when I first started venturing into pinup style. Despite being no master at vintage hair, I’ve still been asked multiple times on my Instagram to do my own tutorial on pincurling, and finally I decided that perhaps I do have something to offer on this subject; not my expertise, but my lack of it. The thing about learning to pincurl your hair is that it’s tricky, it takes time and practise, and at the beginning it can leave you frustrated and make your arms ache. Even now, a year on, I don’t roll the neatest pincurls, but I want to show you that it’s still possible to get a pretty and passable ‘do out of a less than perfect wetset.

For true beginners please note that an overnight wetset is not the only option for achieving vintage waves. There are also foam rollers, which are easier to apply but can have varying results, and may also take a bit of practice. For ladies who have serious humidity and frizz problems with their hair they can hotset their hair. There’s several options for this, including hot rollers, hot sticks, and also heated pincurls, where you use heated curling tongs to create the curl that is created by hand in the winding process of wetset pincurls, then secured in the same way as wet pincurls as an elevated or flat pincurl. These pincurls created by heat ought to be fixed with a light layer of hairspray and can be left overnight to set firmly into hair the same as with pincurls, but if being done on the day of an event then they must at least be left to cool completely before being taken out and brushed through. Continue reading